Do you want to get rid of the dull and blank walls of your room? Do you wish to give a warm and stylish feel to your home without hanging many pictures and expensive decor pieces? If yes, you should surely consider hanging some unique pallet wall arts. Ideally, after reading this pallet wall art post, you don’t need to look further for the particular wall art to give a unique look to your living space.
You can use some wooden pallets to make some exciting and unique pieces of wall art. The main reason for considering the wood is its natural warmness and rustic look and you find these pallets for free. Excitingly! You don’t need to add other embellishments to the wall once you have placed a pallet of antler art on the wall.
The best thing is that you don’t need to step out of your budget while working on pallet projects because of upcycled or reclaimed wooden pallets. This top-listed DIY will help to get your hand on some really cool wooden antler art without any expensive materials and embellishments.
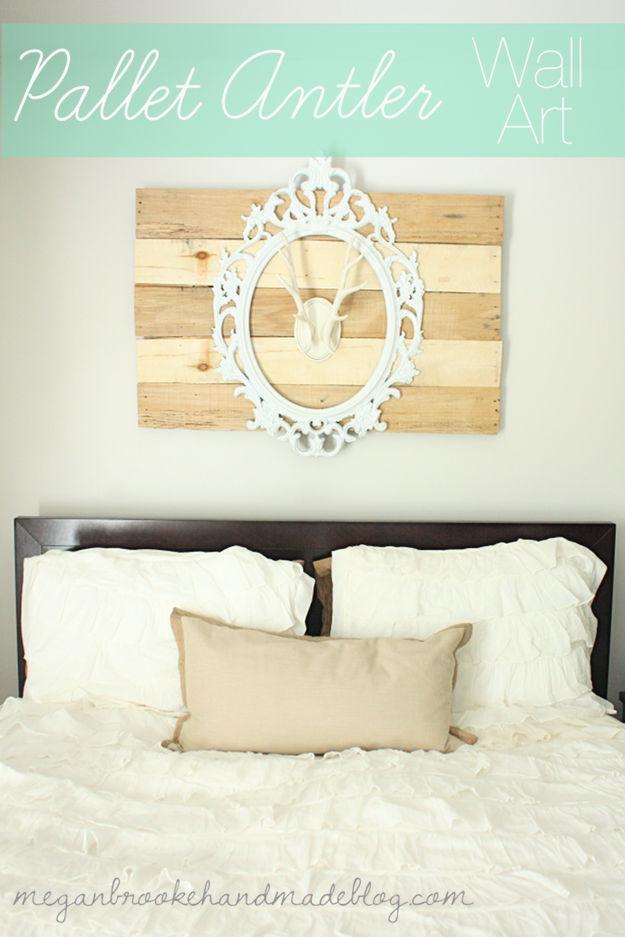
Last week I revealed my pallet antler wall art and told you guys that later in the week I would show you how I made it.
I know you guys were waiting on pins and needles for this pallet wall art tutorial, right?
So let’s start pallet wall art, shall we?
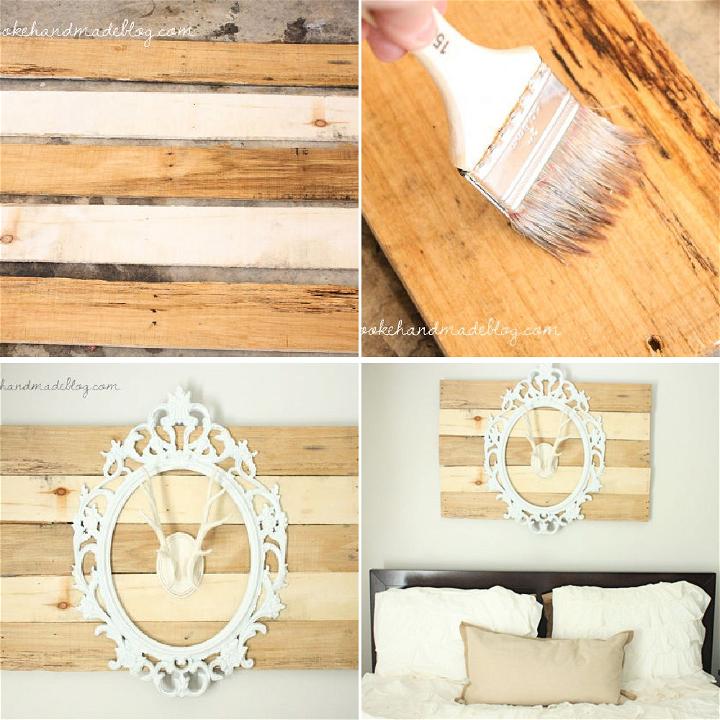
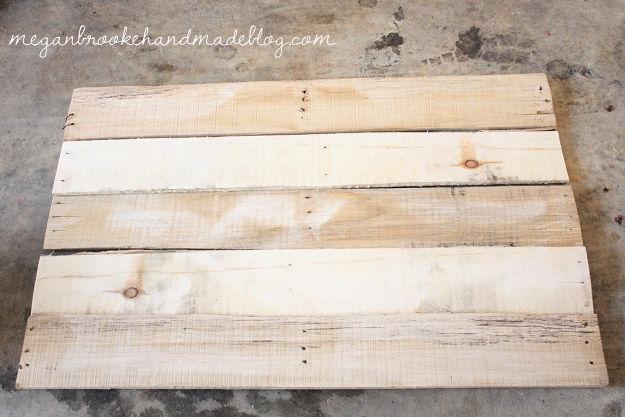
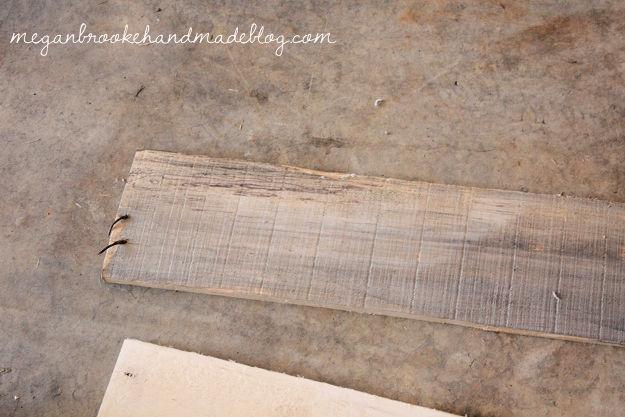
I had a bunch of pallet wood I had gotten for free. Several of the boards were wider and there was a variety of darker and lighter wood colors. When I laid them all out, I actually really liked the look of having alternating colors of wood. So the first thing I did was cut the boards down to size {or more like had someone cut them down for me…still afraid of power tools}.
I wanted to stain the already darker pieces of wood and make them a bit darker for even more contrast.
Someone told me that you can stain wood using steel wool and distilled vinegar. So I found a tutorial online and got everything I needed.
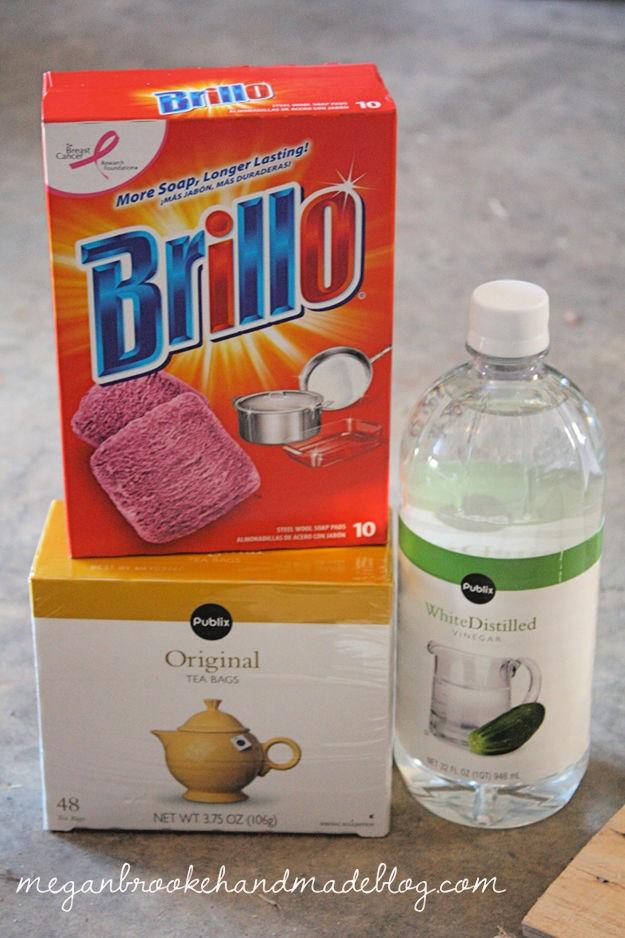
Let’s just say, this project didn’t exactly go as planned. I think my first problem was getting pink brillo pads. They were pink for breast cancer, but that was the only kind I could find at the store I went to.
You are supposed to soak the brillo pads in distilled vinegar for a bit and then swipe the pads onto your wood.
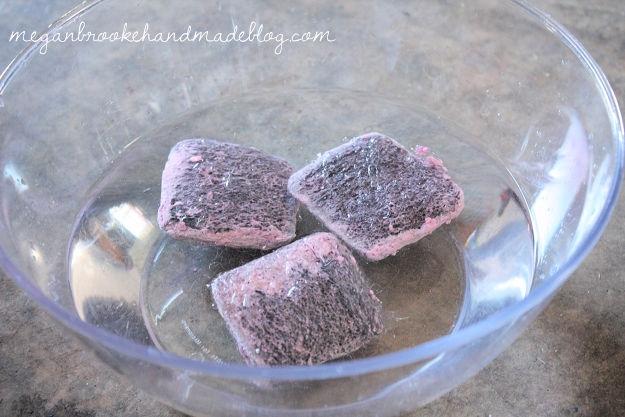
When I did that, the wood ended up turning super grey. Not at all the color, I was going for. See exhibit A below.
But, the tutorial did say that you can soak some tea bags and paint the tea stain on top to make it less grey. The teabags didn’t help my poor greyboard at all though. If anything, it just made it even greyer.
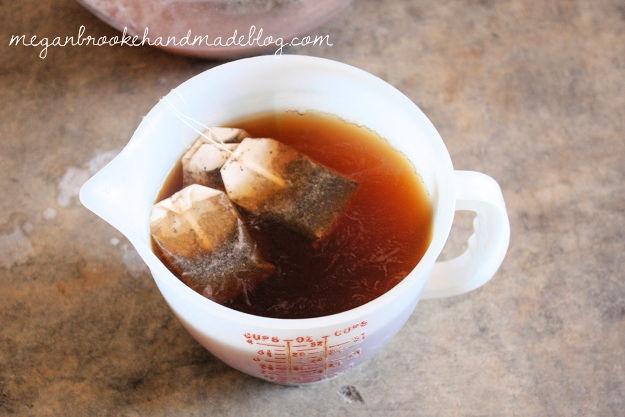
So, I decided to flip the board over and just stain the wood with tea alone just to see what it would look like.
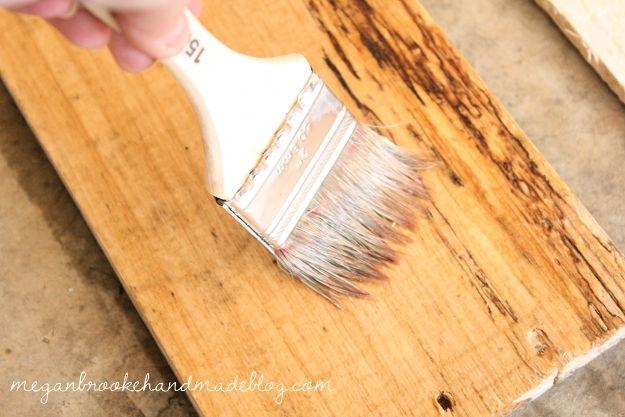
I actually really liked the color and went with that on all the darker boards.
Here’s what the three boards looked like post-stain next to the lighter boards.
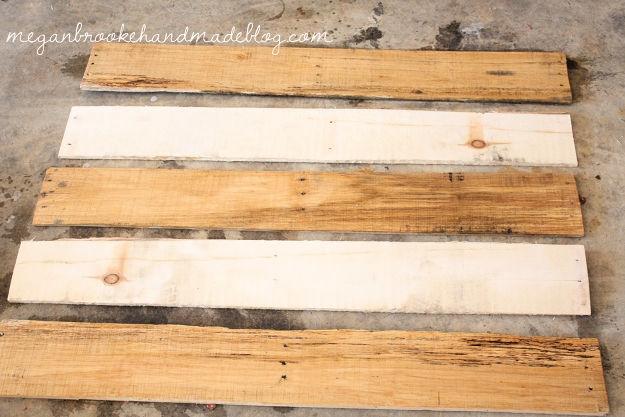
I thought it gave it just a little bit more color like I wanted but wasn’t too dark.
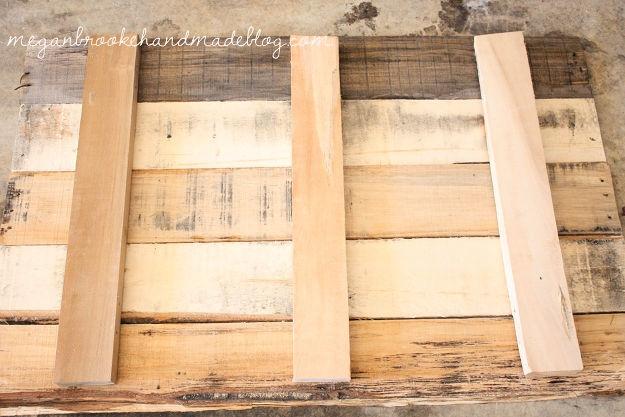
For the back, I also had someone cut down a few thicker boards to brace the wood. One lesson that I’ve learned in the past when working with pallet wood is that it strips super easily. So luckily I had some pretty sturdy pieces of wood and opted to use those on the back to hopefully avoid stripping.
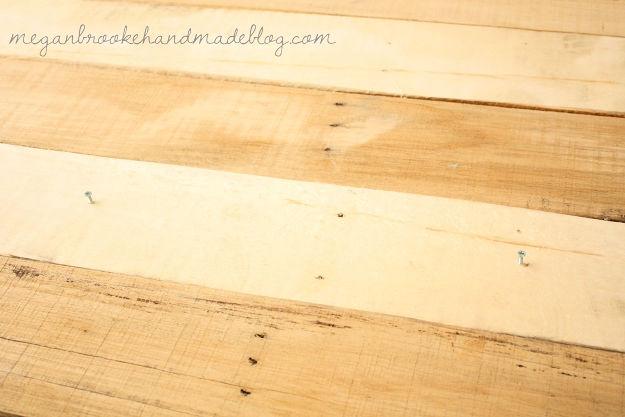
I also learned the hard way that it is actually important to get the proper length in screws. Based on my measurements, which were clearly wrong, I got 1.5″ screws. I had the hardest time drilling those screws in and getting the boards to all stay together. For some reason, I was only thinking screws came in 1.5″ and 2″ sizes. In case you were wondering, they do actually have 1.75″ screws. Who knew! That size was perfect and made it much easier to put the whole thing together.
The white frame I used on top of the wood was originally a black frame that I got from Ikea. Just gave it a few coats of white spray paint.
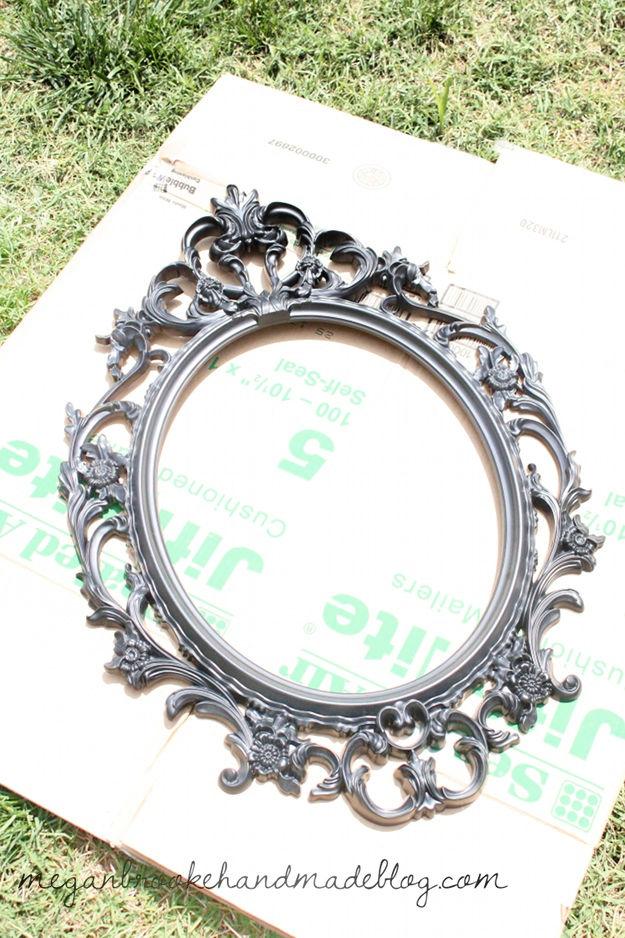
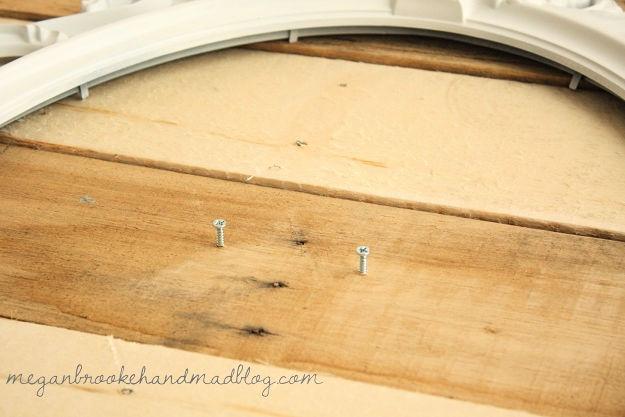
I just added a few screws to the front to hang the frame.
The antlers came from Target. The first time I saw them I didn’t end up buying them. But, the next time I was there, I saw them again and there was the only one left so I took it as a sign and impulse bought them.
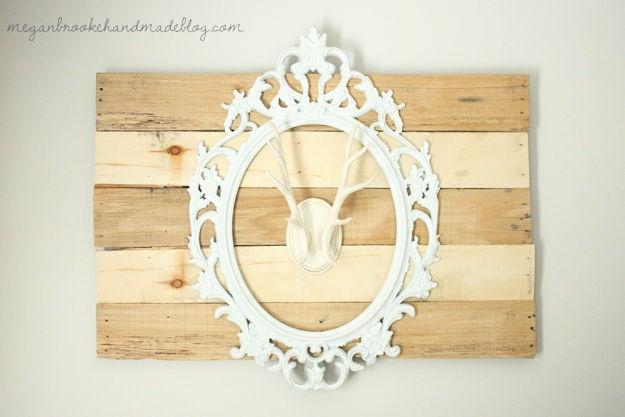
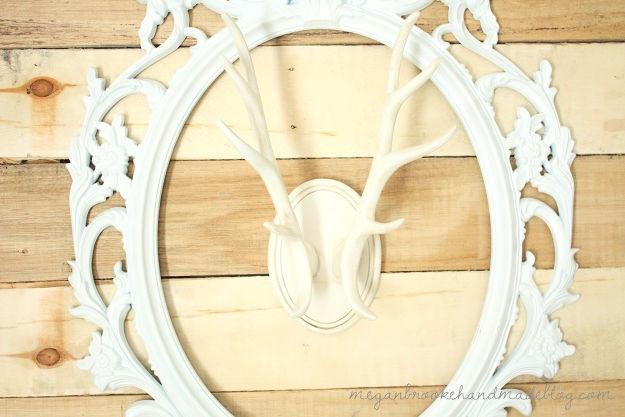
I didn’t exactly have a place in mind for them, but once I started putting this project together I thought it might be fun to add the antlers to the inside of the frame.
I just popped on a few screws in the center of the frame for the antlers to hang.
And that’s it! Pallet antler wall art complete.
To hang it, I actually just used a wire picture hanger that holds up to 50 pounds. I failed to take a picture of the back once that was attached. Oops!
Find More Pallet Ideas:
Pallet Wall: It is so easy to install a pallet wall in your bedroom, living room and bathroom and our collection will explain to you how to do it. The best part is you have to break down any pallets!
Headboard: How do you make a pallet headboard? These DIY pallet headboard ideas will cost you nothing to build and can be finished in just a few hours.
Shelves: We have a huge selection of easy to build pallet shelves, pallet rack shelving and pallet bookshelf that anyone can make with free pallets.
Shoe Rack: Find inexpensive pallet shoe rack ideas that will organize all your favorite shoes in one place in a beautiful way.
Pallet Furniture: Use these inexpensive, simple, and free pallet furniture plans to build great-looking furniture and accessories for your home.
But, it is safely hanging over my bed and none of it has landed on my head in the middle of the night thus far.
I would call that a success!
Have you ever had a project not turn out like the tutorial and you ended up improvising? I’m actually glad the distilled wool didn’t work out because I’m kind of digging the tea stain look more! What do you think?
Pallet Signs: Find these pallet sign ideas that are something to make worthy out of pallets wood without getting a bit expensive!
Conclusion:
This is the end of this post! For sure, you will find a really creative wooden pallet wall art piece on Blitsy. Now, it’s your turn to get your hand on your favorite discussed antler pallet wall art. Create something different and unique to inspire your loved ones with your creativity.